Welcome to our first crash course series: HTML bootcamp. This blog series is for beginners of web development.
What is HTML?
HTML stands for Hypertext Markup Language. It is not actually a programming language, rather a way of structuring and styling content on a web page. HTML is usually assisted by CSS (Cascading Style Sheets) and JavaScript to create interactive web pages.
Where do I write my HTML?
To start, we’ll be using repl.it as our IDE (integrated development environment). Once you’ve logged in/signed up, on the left panel there should be a large “New Repl” button. While creating your new Repl, select “HTML, CSS, JS” as the language, and type a name for your project.
HTML Basics
Now that we’re in our programming environment, you should see a few lines of HTML already written. These lines should not be deleted – as they define the organization of the HTML document. HTML is based on opening and closing tags, so each section should have an opening tag and closing tag (ex. <head> and </head>) to mark its beginning and end.
The first thing you should do in an HTML document is tell the browser what type of HTML you’re using. Most of the time, this will be HTML 5, so you’ll put <!DOCTYPE HTML> at the very beginning. Fortunately, most IDE’s automatically add this in when creating a .html document. This ensures the web browser parses the page in the correct, same way, even if the web browser itself switches.
From here, you’ll see a <html> tag, which should surround the rest of the document. The 2nd layer of organization comes with <head> and <body>. In the <head> tag, we’ll add metadata like our title, link, and style. This info is not displayed on our website, however it provides important information to the machines reading our document. Services like Google use it to categorize our website or find keywords to describe it. In the <body> tag, we put anything that we want the site itself to display.
We’ll start by using a <h1> tag to write hello. Inside the <body> tag, add in <h1> to signify that we’re opening a headline section, type Hello, and then close it with a </h1> tag.

At this point, you can hit “run” on the top navigation bar, and see your web page display on the right.
After using the <h1> tag, you can use similar tags, like <h2> (a smaller headline level), all the way to <h6>. You can also add in line breaks using <br> (a standalone tag that doesn’t require a closing tag), or some paragraph text using <p> and </p>.
Although not a programming language, it is still necessary to keep our HTML document clean and readable. We can do this by adding comments – small parts of the code that don’t display, but can serve as explanatory text of our document to other people taking a look. Comments can be opened using <!– and then closed using –>.

In HTML 5, we have another layer of organizational elements that we can use inside <body>. Tags like <main>, <header>, <footer>, <nav>, <video>, or <article> can let machines reading our document learn what is happening on our website.
Making sure machines know what is happening on our website is important for SEO (search engine optimization). If we have a well organized document, that uses the correct keywords, when people google the information you’re writing about, your website will be higher ranking in the search engines’ results.
Images and Links in HTML
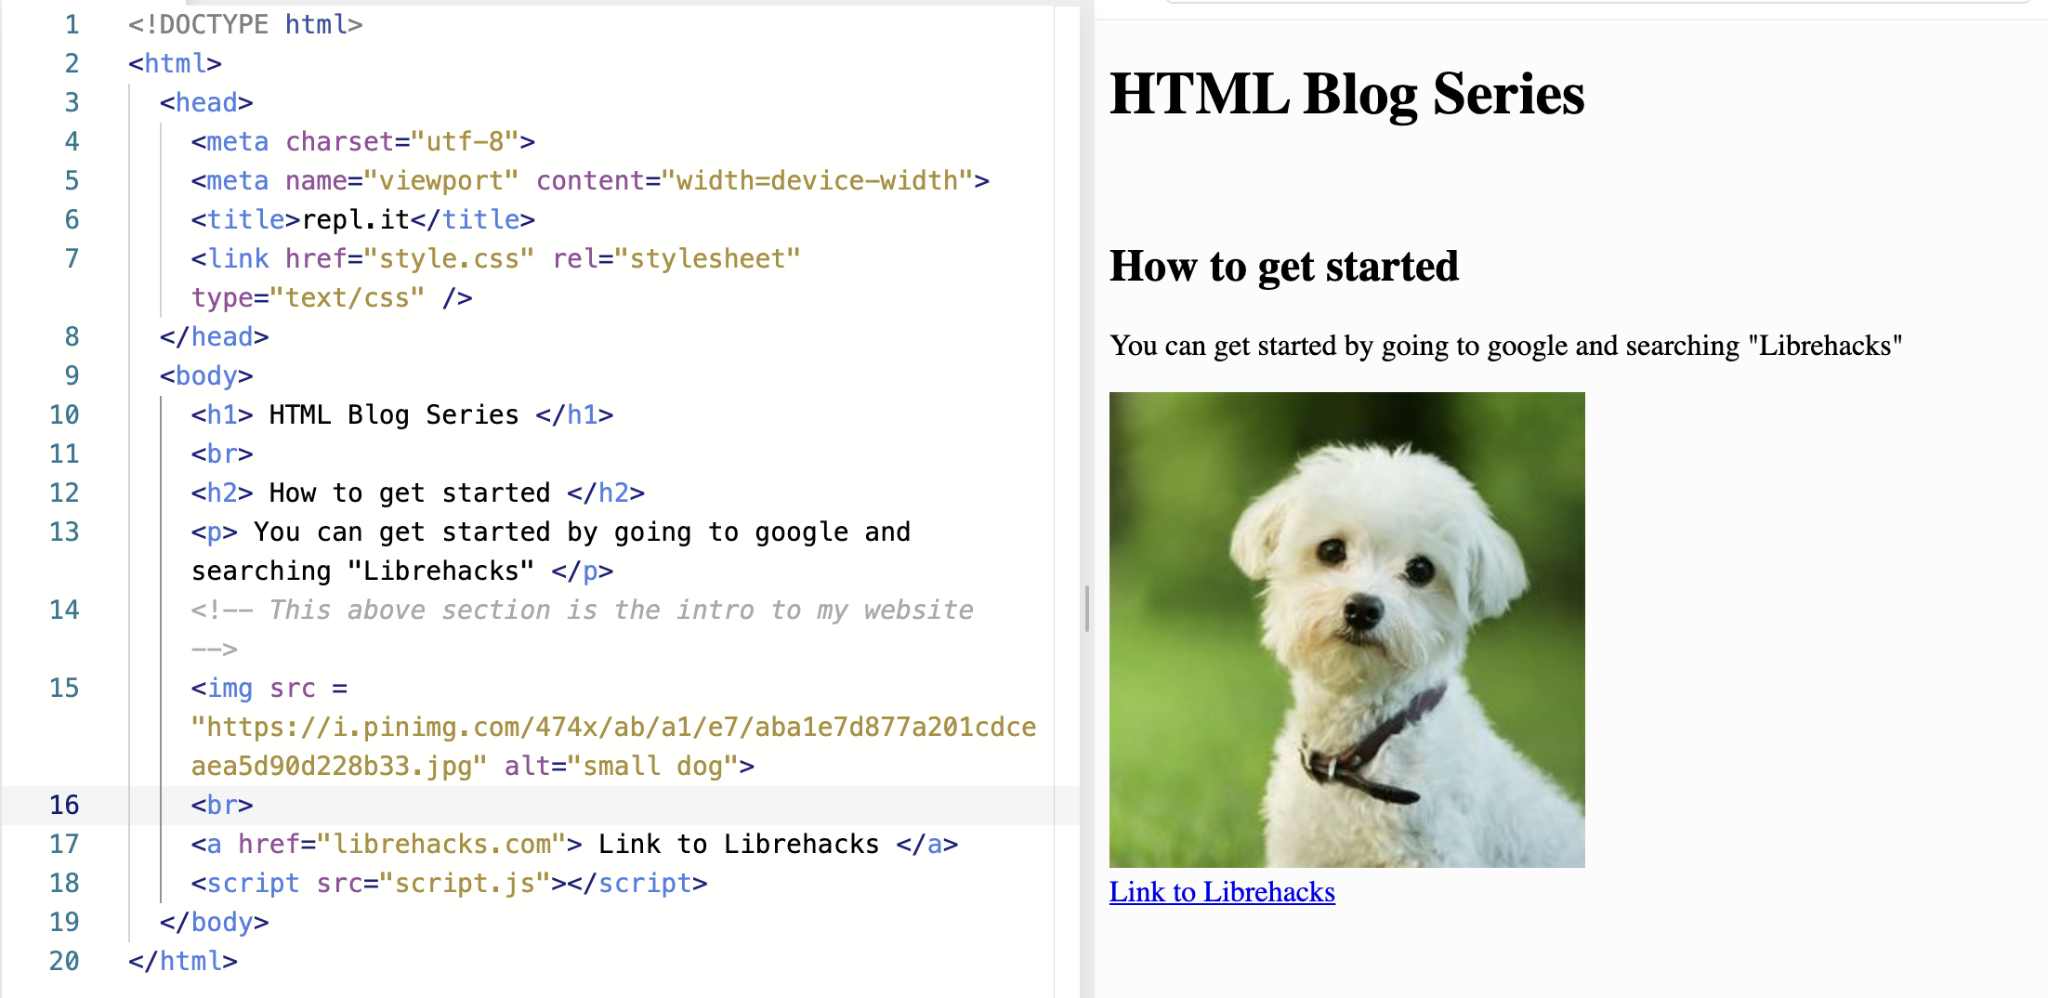
To add images to your website, we’ll be using a standalone, self closing tag called <img>. The first thing you will need to do is get the link of the image you want to use. You can just go on google images, right click the image and select “Copy Image Address”. Use <img src=”xyz.com”> (inserting your image address inplace of xyz.com). In case your image doesn’t load, it is good practice to add some alternate text to show up, using the alt attribute <img src=”dog image link” alt=”image of dog”>.
We can use the anchor element to link images and text to external websites. Using <a href=”librehacks.com”> Link to Librehacks </a>, we create a line of text that has a hyper link to the website. This anchor tag can be placed around other elements, like an <img> tag as well.
In longer sites, it may be beneficial to have hyper links to internal sections of the website. We can do this using the same anchor element. First, we would set the ID of an element. To add an ID to a headline element, add an ID attribute: <h1 id=”headline1”> My First Headline </h1>. Now, use the anchor tag to link to that: <a href=”#headline1”> Scroll Back to Top </a>

For testing purposes, it may be necessary to add a few line breaks, so that the page is long enough to require a scroll back up to the top.
If you would like to add a hyperlink that doesn’t lead anywhere (a “dead” link), you can just set the href=”#”.
This concludes part 1 of our HTML Bootcamp blog series. Check out part 2, where we cover text fields and styling!
Contact: info@librehacks.com