Lists
When working with websites, listing items is a very common task. While it might not be particularly difficult, it is a skill that is used very frequently.
There are two types of lists in HTML: ordered and unordered. An ordered list uses some notation in order to indicate each element while an unordered list uses bullets to mark each element.

Unordered Lists
The way that you create an unordered list is by using the <ul> tag. The <ul> tag stands for “unordered list”. Inside the <ul> tag, you have to create the elements that should be in that list. To do this, you use the <li> tag. Be sure to include the closing tag with each of these elements (</ul> and </li>).

Ordered Lists
The way that an ordered list is created is very similar to the way that an unordered list is created. To be more specific, you would just change the <ul> tag to <ol> tag which stands for ordered lists. Once again, you need the <li> tag in order to create elements within the list.

User Input
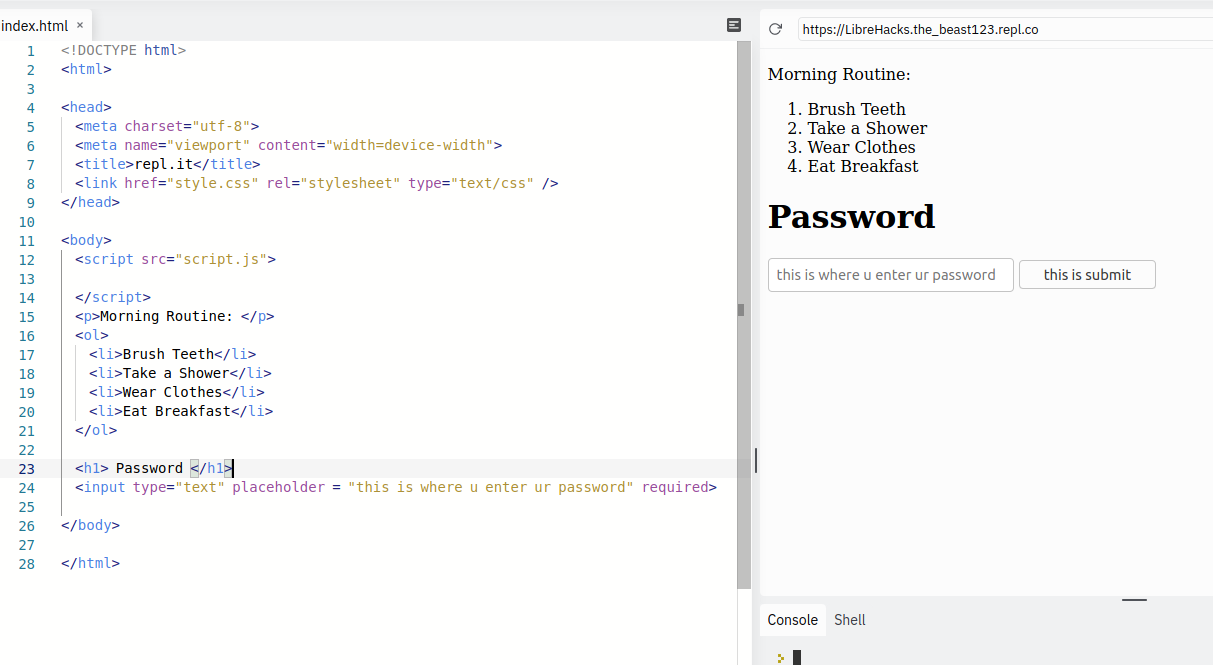
In order to get user input from a website, you have to use the <input/> tag. One important aspect to remember about this tag is that they are self closing. This means that unlike the previous tags we have worked with, you only need to have a closing tag to use it.
Additionally, there are two attributes to take note of. One is called type and the other is called placeholder. The type attribute specifies the type of input. For now, this should be set to text where the user would type in some input. The placeholder
should be a short description to the user of what the input should be. If you want an input to be mandatory, you can add the required attribute like so:
<input type=”text” placeholder=”Password” required>.
Forms
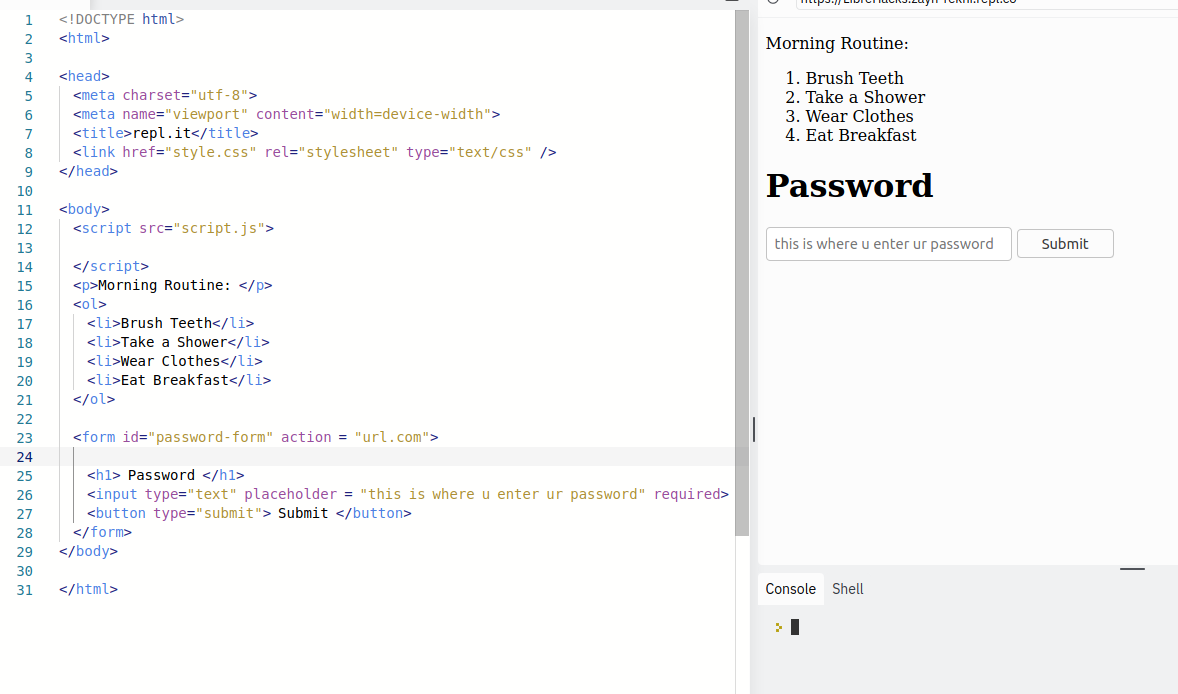
One of the most important aspects of web development is processing user input. For example, everytime you sign into your email account, submit your homework on google classroom, or order food online, you have filled out a form so that the website can process your input and use it for some action. The way that you use a form is by using a <form> tag.
Within this tag, you have to set the action url equal to the url at which you want the user input to be sent.

Buttons
Once the user is done filling out the form, he or she needs to have a way to submit it. Oftentimes, forms provide a submit button so that the form can be processed by the website once the user is done completing the form. In order to create a button, you can use the <button> tag. This tag also needs a type to be specified and in this case, the type has to be “submit”. This “submit” type is specifically used in forms because it tells the form that the user has stopped making edits to its input and wants it to be processed by the website.
Intro to Properties, Styling, and Fonts
Color
One of the most basic properties in CSS is color. You can apply this property of color to HTML tags by using the style attribute. This attribute is used when you want to apply CSS to a specific element. The way that you would set a tag’s color equal to the color of red would be <tag style=”color: red;”> with the property name and value separated by a colon.

Filesystem
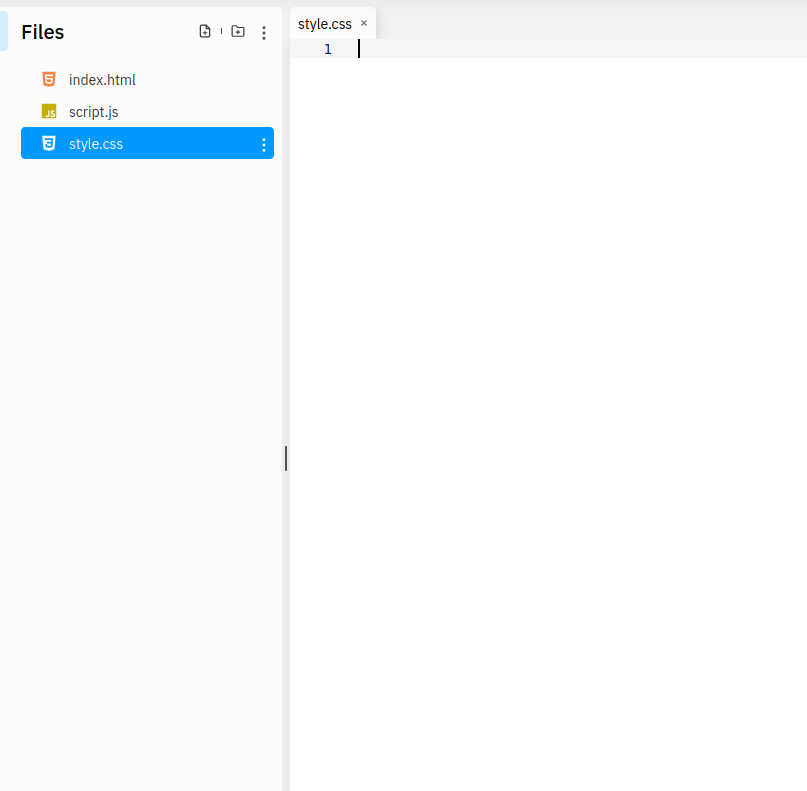
The problem with constantly using the style attribute is that in order to apply the same styling to multiple elements, you would have to copy and paste the styling multiple times. Not only is this very redundant, but it will lead to having messy code that’s not easy to read. To avoid this, you can use the class attribute and a separate file for your CSS code. To be more specific, if you notice the files listed on the left, there is a file called style.css. This file is where you store all of your CSS code.
In order to do so, you write the name of the element or class that you would like to reference and a set of open and closed brackets after (ex. .h1). In the open and closed brackets, you can follow the same structure of the property and value separated by a colon like the style attribute.

Classnames are useful because they allow you to use the same styles on elements that aren’t the same.


Font
Another fundamental aspect of websites is font. Font size and family are important characteristics to consider when creating a website. In order to set font size, you would use the “font-family” attribute and to set font-family, you would use the “font-family” attribute.

Sometimes, there are fonts that you want to use that are not available to all browsers. In order to get around this limitation, you can import fonts from Google Fonts(https://fonts.google.com/). Google Fonts is a library that allows you to import any font into your website.
When you first arrive on the webpage, select the font that you want to use. Press “Select this style” for the font that you would like to use. Then go to the upper right hand corner of the screen and select “View your Selected Font Family”. Once selected, you should get the option to choose between <link> and @import. You want to select @import and copy the text from the @ symbol to the semicolon. Paste this at the top of your CSS file.

The problem with many default fonts is that they are often supported by only some web browsers. Hence, some people look to font degradation as a way to solve this issue. Font degradation checks to see if a font is supported by a web browser and if not, it falls back on another font. To do this, you specify two fonts separated by a comma as the value for “font-family”.
